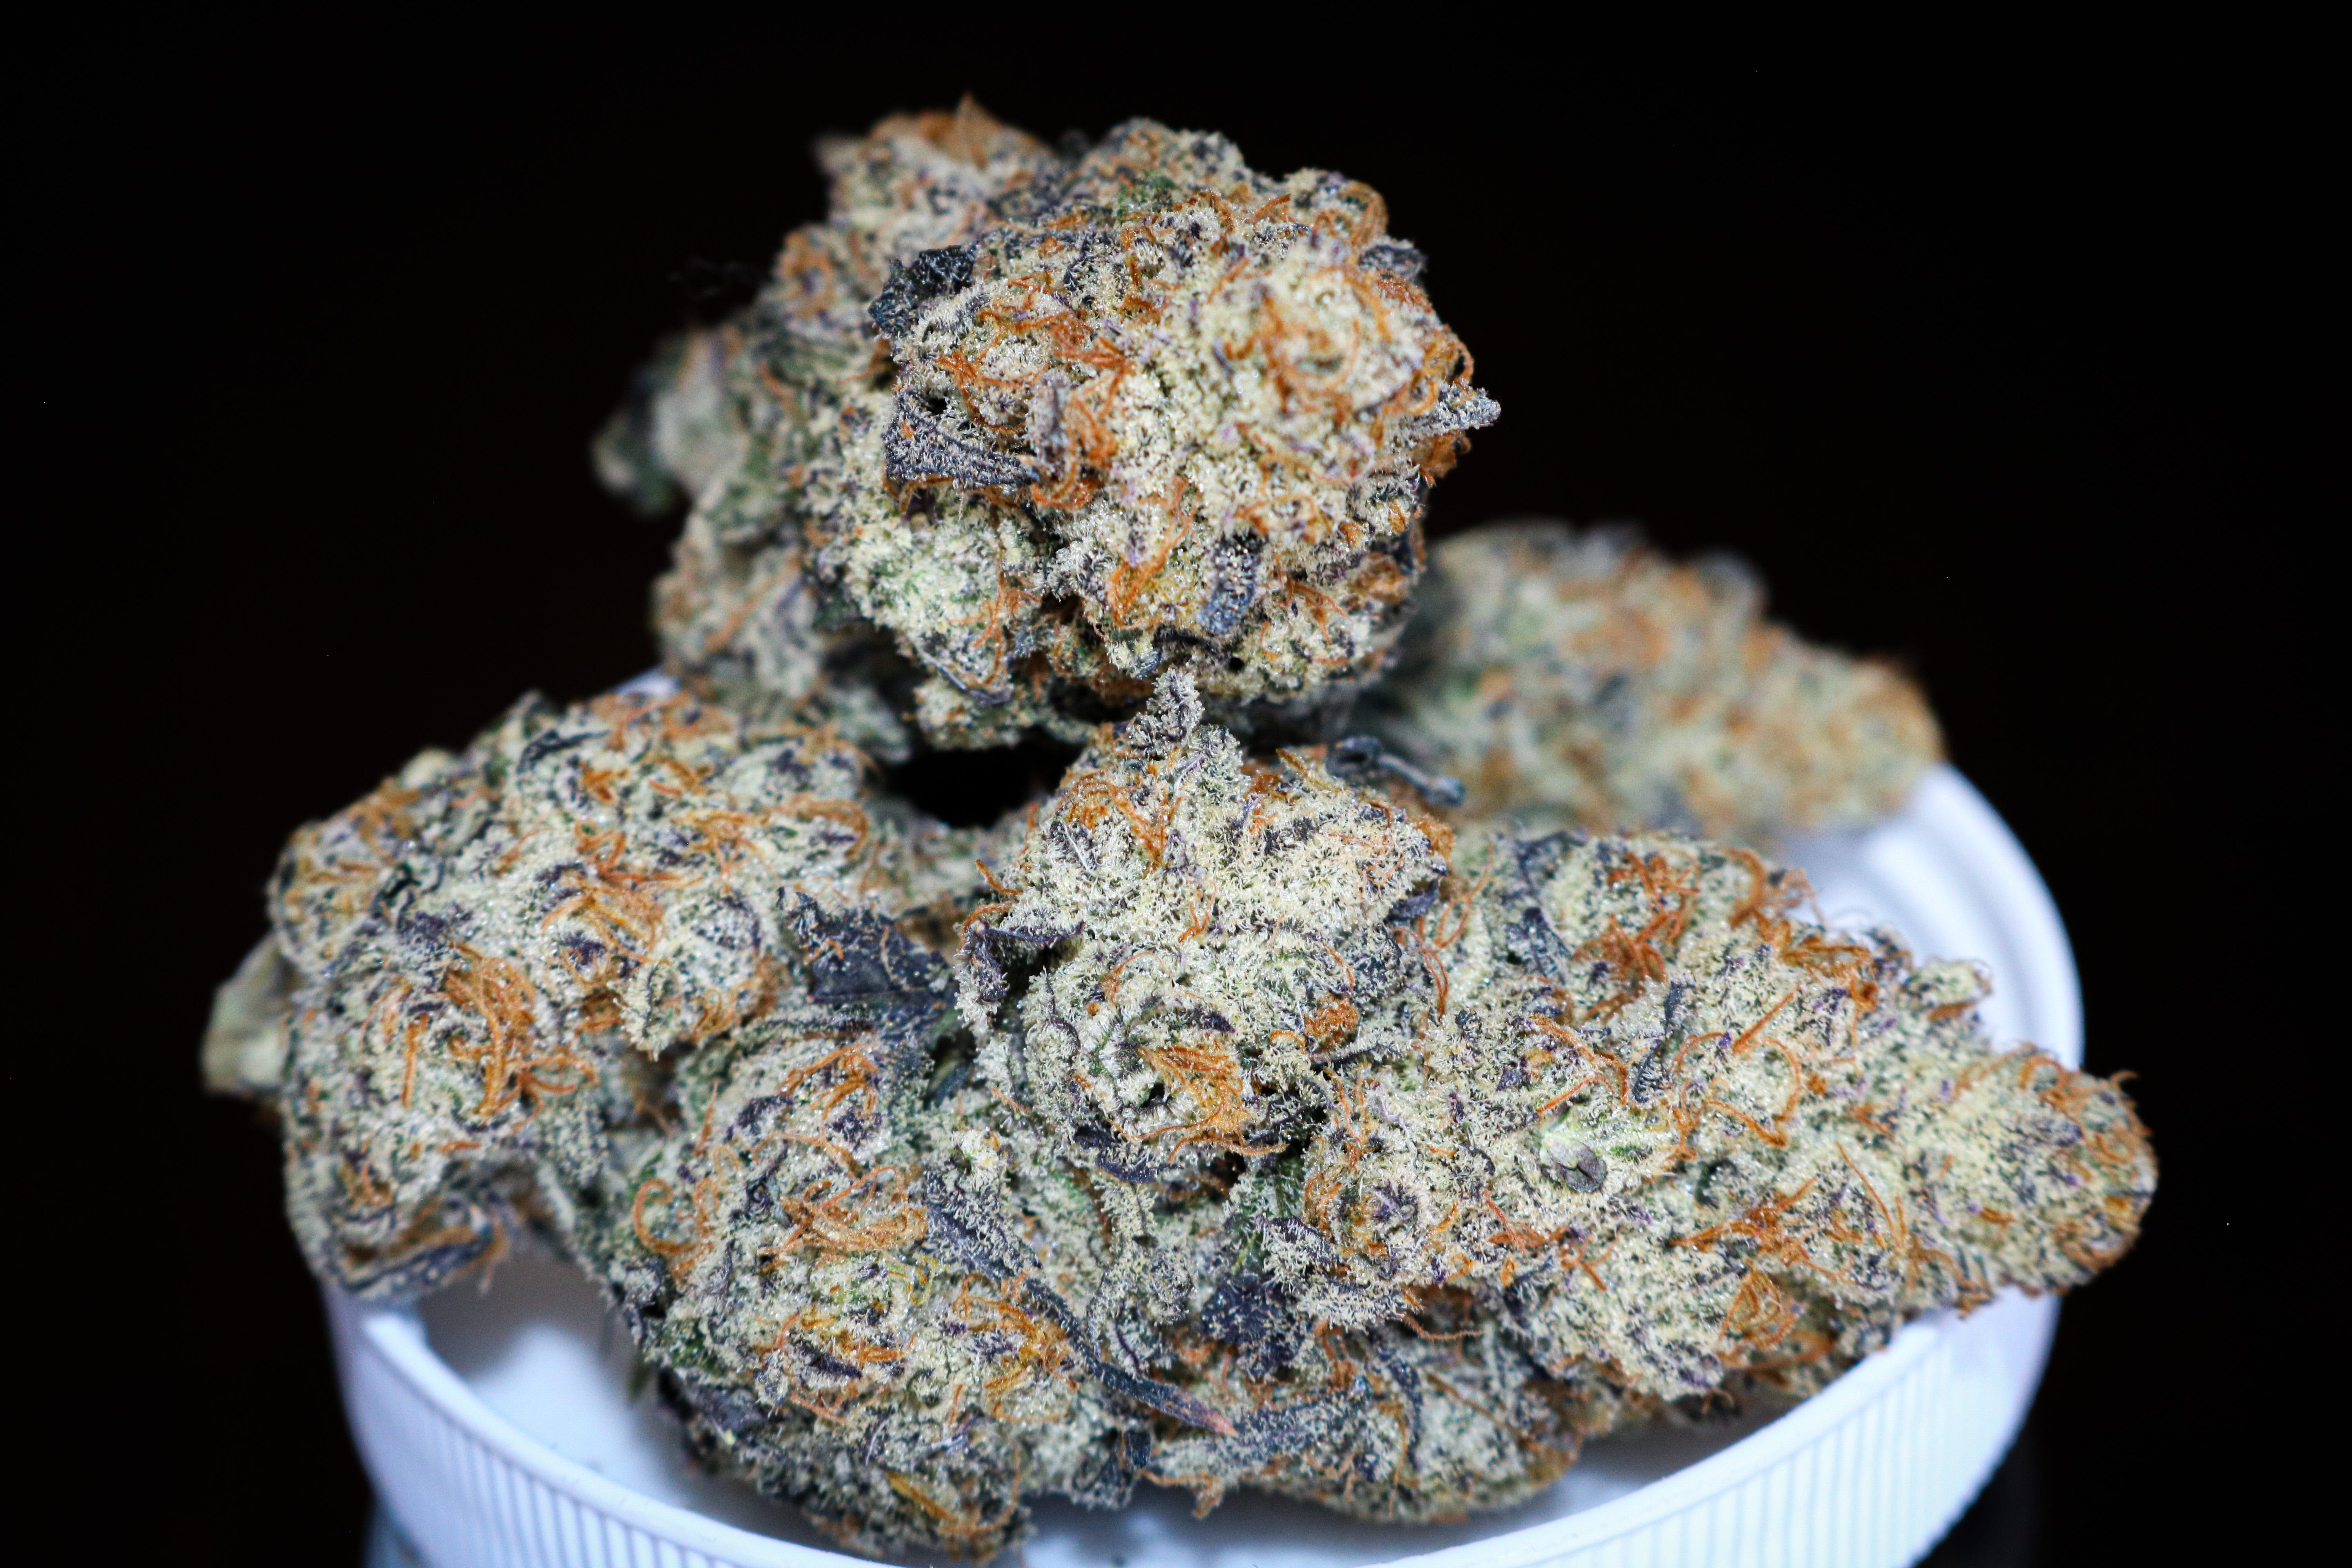
The Art of Curing
Tips & Tricks from 4 Experienced Growers For Improving The Quality of Your Final Product
“There’s nothing worse than going through the time it takes...and then have all of that wrecked because the cure is not correct,” reminds Lovin in Her Eyes, a sentiment many growers are all too familiar with.
Many growers struggle with drying and curing, which is why I asked Lovin in Her Eyes, Kam Tembo, Sharkmouse Farms, and Colin Gordon for their advice on how to get better results out of the drying and curing phases.
You can completely ruin a harvest if you’re not careful. But, with the right technique, you can preserve the fruits of your labor without sacrificing the quality you worked so hard for.
Whether you’re a new grower who has not yet dialed in your processes, or an experienced grower looking for tricks to fine-tune your methods, these growers’ guidances will unlock ways for you to improve your efforts—from process to product.
Curing Variables & Desired Conditions
If you’ve ever asked a grower how they dry and cure, a common guidance is “Shoot for 60/60,” meaning 60ºF and 60% relative humidity (RH).
While this isn’t wrong per se, it is vague, and doesn’t take into account varietal and environmental variances.
Based on these growers’ experience, aim to get your environment somewhere near 50-65ºF and 50-60% RH.
Tembo dries in 50ºF and 60% RH before curing at 50ºF and 50% RH. Lovin prefers to cure at 65ºF and 50-55% RH. Whereas Shark is less focused on humidity and more on active water (aW) content.
According to Shark:
"The most important metrics to manage during cure are dew point, temperature and light exposure. Relative humidity matters in how it affects the cure space’s dew point.
Managing your cure in a small…environment is crucial to achieving the ideal water activity (aW) Curing all comes down to proper drying in order to break down all the sugars and remaining starches, as well as bring the flower into a safe moisture content. The ideal aW content of cured flower is 0.62-0.65 aW to maintain hydration of the volatile compounds we’re trying to preserve, while having enough water for the metabolic processes to continue to refine the flowers profile.
Too dry, oils dry out and that refinement process comes to a halt. Too wet, we get mold, yeast and other pathogens.
When we manage dew point and temperature, we change the amount of pressure it takes for dew to form into liquid water, which changes the amount of water the air can hold. In a small space at the right temp and dew point, the air can only pull so much water out until its “full” at which point, no more water movement will occur between liquid water in the flower and vapor water in the air. If we set that to just the right number, we can ensure…relative humidity is reached at just the right moisture for a long fruitful cure.
Curing is just an extension of drying, where we try to hold the moisture instead of bringing it down while there's still enough energy to convert precursors to their final form, a process that can mostly complete in 7-10 days, but can continue for up to 6 weeks."
How To Know When Your Buds Are “Ready”
It’s not really an exact science, but there are a few things to look for.
Tembo keeps it simple: When it snaps, it’s ready.
Once you achieve that dry snap sound, it’s ready to be jarred & burped for 7 days before being trimmed and stored in airtight containers.
Lovin likens her process for gauging curing to that of a chef following their instinct:
"As far as when it’s done, that’s a personal grower choice in my opinion. How do you like your steak? Some say well done, while others like a medium rare. Pizza dough, soft or a little burnt on the edges? Chef's choice as to when it’s done. For me, every variety is different. I have some plants I enjoy 21 days off the sticks while others benefit from a full 6-9 month cure…When I smoke it and like it. That’s it. Nothing more than that."
But when pressed, she did give a bit more of that recipe away, indicating she begins smoking samples around Day 18 of dry, before placing buds in jars for cure “anywhere from day 20-50.”
As Lovin reminds, "Every single plant is different based on the leaf size, shape and thickness. Different resins play a role. Size of stalk. All of that matters. All conditions during the cure can be manipulated to speed up or slow down. It’s really all about knowing your plants."
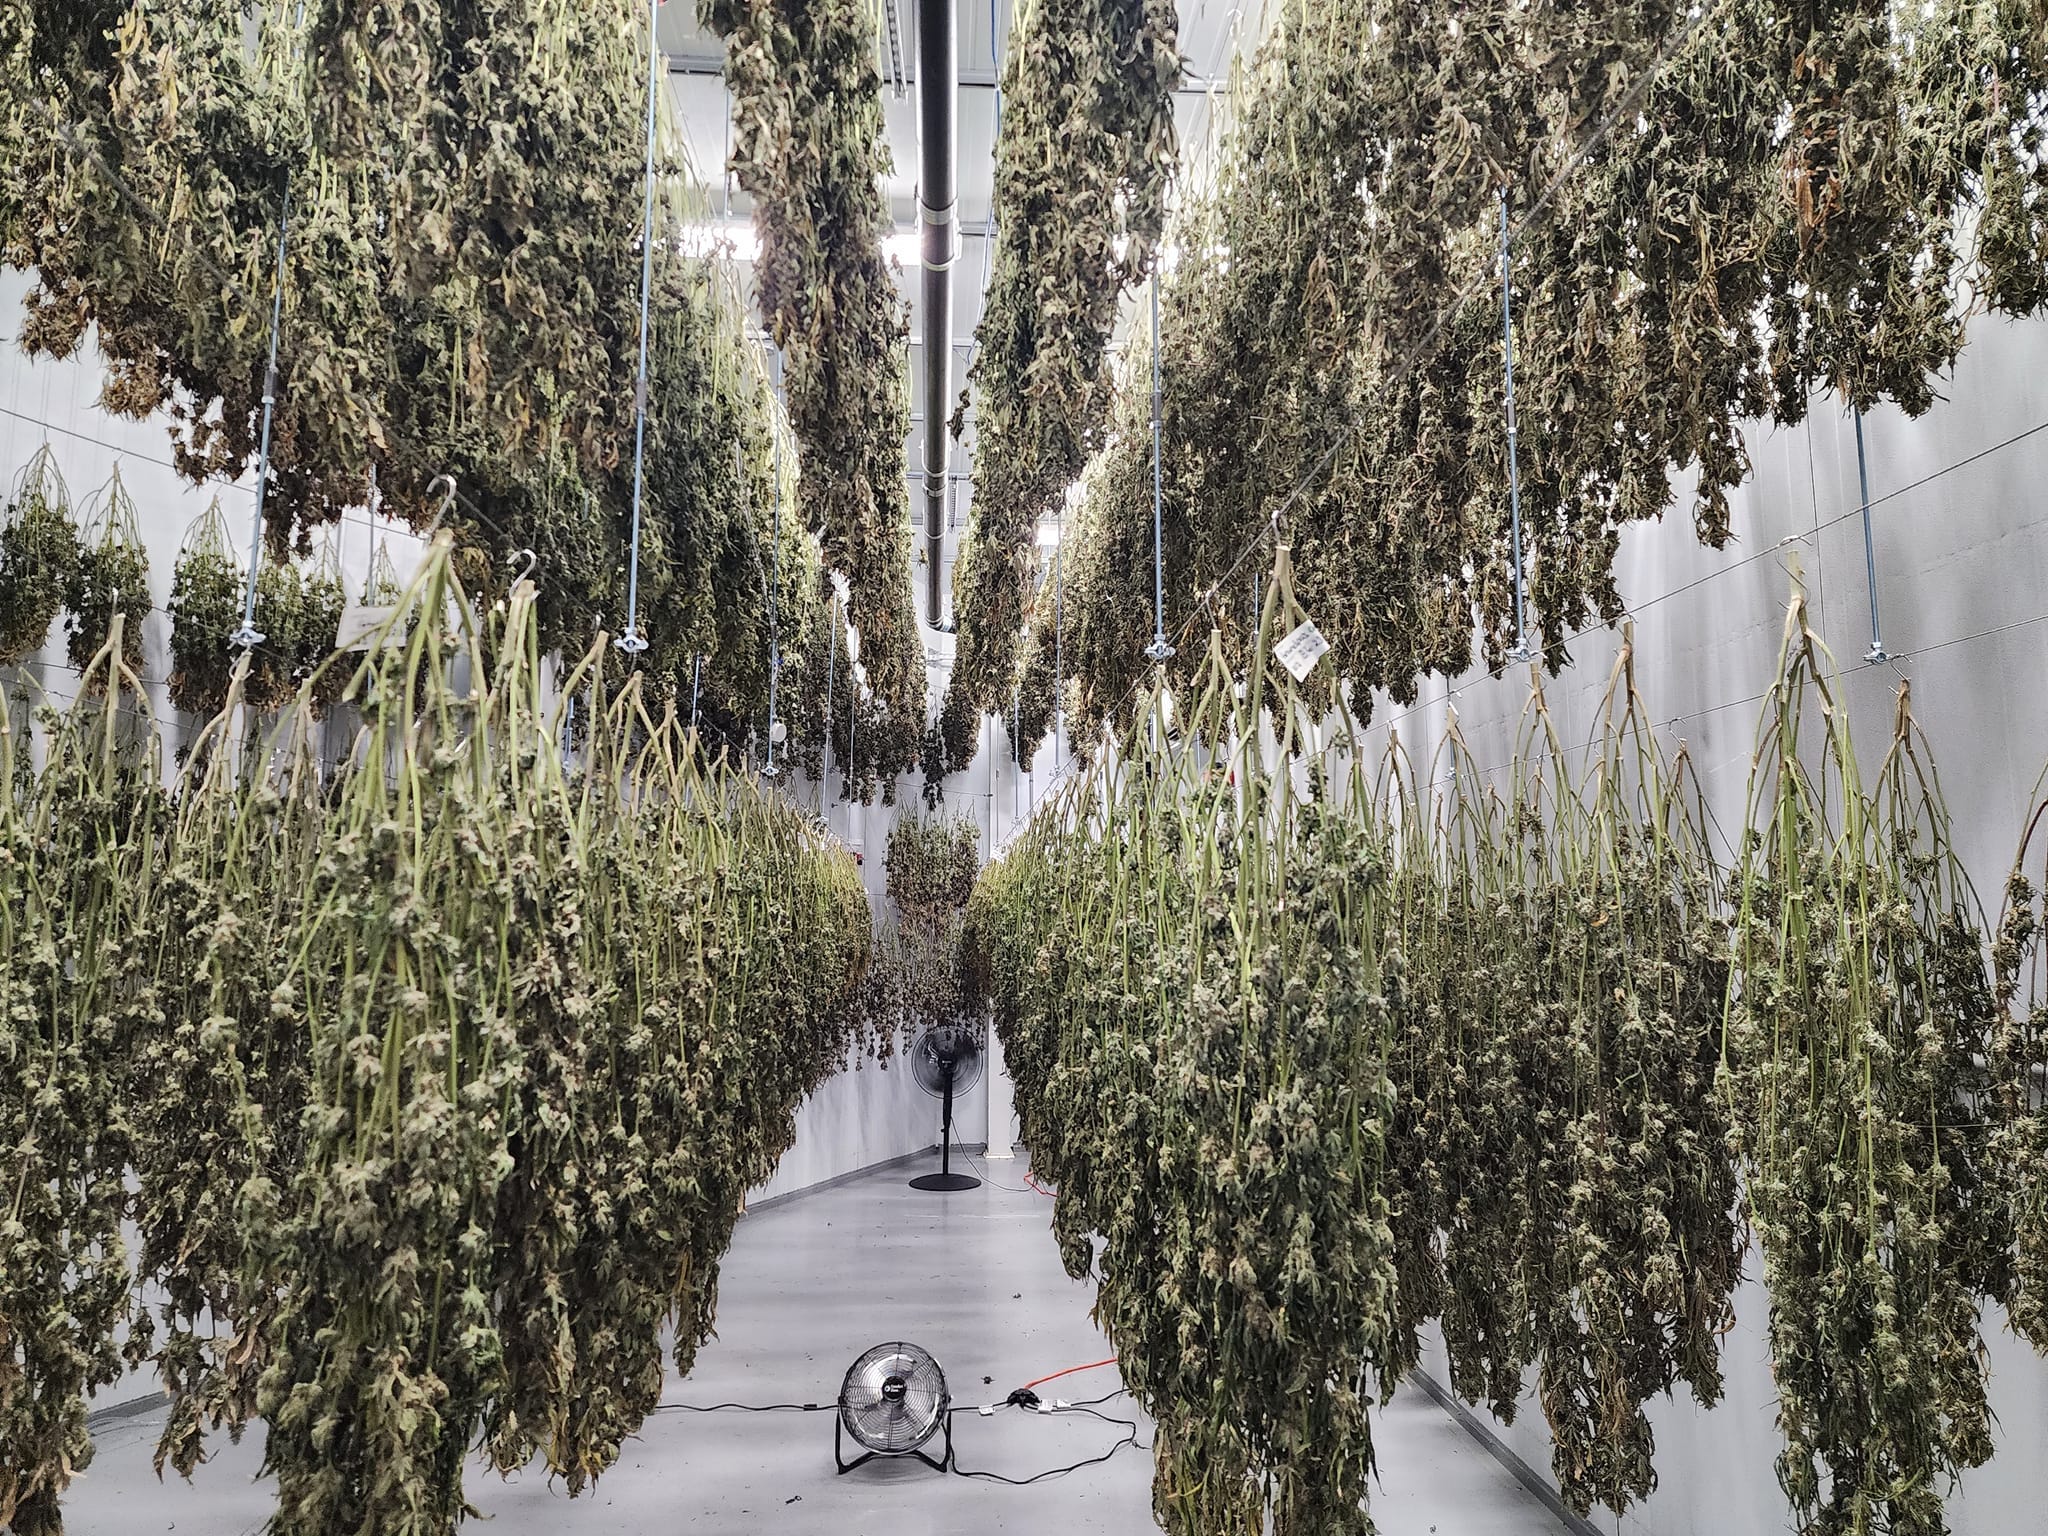
The 3 Biggest Drying & Curing Mistakes (And How To Avoid Them):
Mistake #1: All Shapes & Sizes
The mistake many make is attempting to dry branches and whole plants that vary in size all in the same space and on the same timeline. This results in a varied dry time that, if not accounted for, results in a variance in moisture levels and final product quality.
As Tembo reminds, "Same principle as food. Same-sized meats will cook and finish at the same time. Same-sized hanging branches dry at the same speed and finish together.”
Mistake #2: Small Samples
If you’re following Tembo's guidance and looking for that Snap, or if you’re following Lovin’s more chef-like intuitiveness through periodic sampling, make sure you’re taking samples from more than a single branch, from a single plant, in a single area of your drying and curing spaces.
Sampling throughout your dry and cure from multiple plants, branches, and areas of the room will help ensure and monitor uniformity in dryness.
Mistake #3: Light Exposure
The one thing all growers I talked to agreed upon was that light exposure can be detrimental to the dry and cure.
According to Shark, "One of the largest critical post harvest failures comes in during the dry phase, where plants are continuously exposed to light levels above 4 µmol, allowing the chloroplast to activate and try and photosynthesize, instead of breaking those chlorophyll pigments and other organic starches down. This is where that hay taste, black ash and harsh burn come from."
Total darkness is recommended whenever possible.
5 Insider Techniques For A Better Cure
Air tight is good; vac-sealed is better.
Once you’re satisfied with the dry and have achieved desired moisture level, Tembo recommends burping the first few days before completely sealing your container up until you’re ready to enjoy.
"After I’m satisfied with the snap, I buck into bins, bags, glass, or any containers of choice that can seal air tight,” he explains.
"I store these in an area that is 50% or lower to maintain terps while I burp the containers daily for about 7 days. Then, I trim and store air tight—vac-sealed is even better—in an area with no sun and temps that are 50ºF or lower to maintain long term integrity."
Tembo says that he’s even opened those vac bags from a year prior that had been stored in low temperatures and it "still tasted like it should.”
Build The Environment for the Process, Not the Process for the Environment.
Admittedly, this is something many growers like myself struggle with. We have an imperfect space, and we just want something that will work with what we’ve got. Big mistake.
Instead, Lovin’s advice is to learn how to dial in your drying and curing spaces so that, regardless of how imperfect your situation may be, the process stays the same:
"Build an environment where those conditions can be met no matter what. This greatly differs from the approach I take in the garden [where] I’m constantly making adjustments on the fly...In the curing phase, it’s set, and it holds...Make sure you’re able to control proper temperature and humidity…
Build a perfect cure room is the answer. Period.
Other than that, it’s hard to teach because every environment, moisture level, resin and genetics will play too large of a role to give a “how to”. There's no need to build anything to your “own needs”. If you build a correct cure environment that takes out all variables, It is what it is no matter where you live in the world."
Too moist? Chop it up!
Moisture issues during cure? Buds too wet? Too dry? If you’re struggling to maintain a consistent environment, Lovin’s got your back:
"One thing you can do if the plant is too moist is cut it into more pieces. If the plant is getting too dry, place the pieces of the plant in a tote with a lid and it will rehydrate some.”
Passive Improvement: Vents
When drying and curing, it’s important to keep air exchange in mind as well as using it to maintain a stable environment, and maintaining a flow of fresh air is easy if you’re passive venting your space:
"I always enjoy a small passive vent in my dry/cure room,” reveals Lovin. "[Something] like a 4-inch passive vent to bring in some new fresh air. Maybe a smaller one if the grow space was tiny to help hold a more constant temp/humidity if necessary. I’m in love with passive vents."
Try a Pre-Chop Nitrogen Flush
According to Colin Gordon, this trick can have a significant impact on the rate your dry and cure advances, and the quality of the smoke. This is especially true if you live in a humid climate like Florida where anything that can expedite the drying process is useful.
Not only should you focus on dialing in your post-chop space, but also consider the role nitrogen and chlorophyll play in the dry and cure:
"The #1 thing that has to happen during the cure is chlorophyll degradation,” reminds Gordon.
"The more leaf material—thicker leaves, more leaves, high leaf to calyx ratio—the more chlorophyll, which is why I believe a really good nitrogen flush leading up to harvest will facilitate a quicker cure.
"When I was experimenting with this, I was doing 3 weeks from harvest to smoke, typically 1 week on branch and 2 weeks in a jar. And what I found was that the stuff that had been heavily flushed of nitrogen was always more advanced—The chlorophyll taste was gone, the bitterness was gone—in that curing process and the end of 2 weeks than the stuff that hadn’t.
If you are growing product for your own consumption, I encourage you to play with different concepts and techniques within that broad-stroke umbrella we call 'flushing.'"
Every plant is different as far as how long it may take to dry and cure, but a stable drying & curing environment will be the biggest improvement you can make to your post-harvest efforts to get noticeably better results.
Subscribe to our Substack to receive new content automatically
This article is featured in Vol. 6 of The ETHOS Magazine.
Grab a collector's edition of the ETHOS magazine in print HERE.